BEFORE YOU BEGIN
This document is designed to help you create the best possible video recording on your very first try. Using the following settings will help the overall product and increase productivity:
Resolution: 1920x1080
Frame Rate: 29.97 fps
Compression: H.264
File Type: MP4
Controlling Your Environment
- Identify a well-lit room/space for your video recording. This room should be neat and orderly in appearance. Position yourself in a location where you’re facing the majority of the light sources.
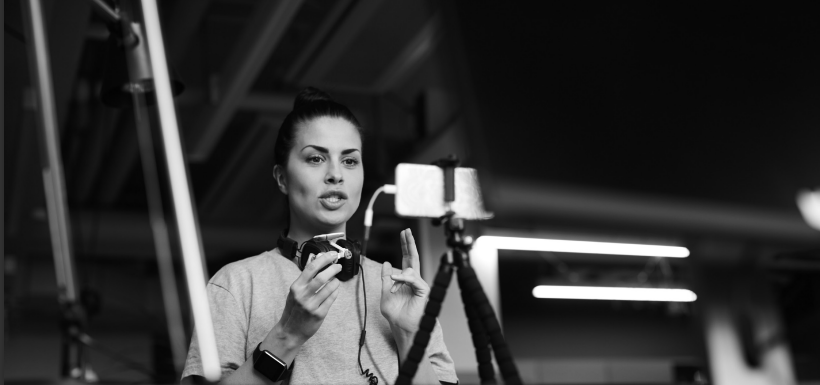
- Once you’ve identified the position from which you’ll be delivering your presentation, it’s time to place your recording device. Set the device in a stable position, ideally using a tripod. Do not hold it in your hand. Make sure the lens is at eye level. If using a mobile device, make sure it is in the landscape orientation.
- If you are using external hardware during your recording, be sure to place it in the appropriate position(s).
- When positioning yourself in the camera frame (shot), make sure to leave space between your head and the top of the screen. A good rule of thumb is to leave approximate 10% of the screen’s height between the top of your head and the top of the screen.
- During your presentation, remember to keep your eyes up and making contact with the camera. Engage the audience. Stay calm and composed. Refrain from touching your face or playing with your hair.
Controlling Your Hardware
Check all of your settings.
If using a Mac:
- System Preferences > Displays > Default for Display
- System Preferences > Sound > Input > Choose Your Device
- System Preferences > Notifications > Turn on Do Not Disturb and Set Time
- System Preferences > Desktop & Screen Saver > Start After > Never
- System Preferences > Energy Saver > Power Adapter > Turn Display Off > Never
If using Windows:
- Settings > System > Display > Display Resolution > Recommended
- Settings > System > Sound > Input > Select Input Device
- Settings > System > Notifications & Actions > Notifications OFF
- Settings > Personalization > Lock Screen > Screen Time Out Settings > Never
- Settings > Personalization > Screen Save Settings > None > Apply
- Settings > System > Power & Sleep > All Options Set to Never
If using iPhone/iPad:
- Swipe Down Control Center > Turn On Do Not Disturb
- Settings > Camera > Record Video > 1080 p at 30 fps
- Settings > Camera > Formats > Most Compatible
If using external devices:
- If using external hardware (such as a camera or microphone) make sure you have selected it as the appropriate input device.
Controlling Your Software
Zoom:
- Preferences > Video > Camera > Select Correct Camera
- Preferences > Video > 16:9 (Wide Screen)
- Preferences > Audio > Speaker > Select Correct Speaker
- Preferences > Audio > Microphone > Select Correct Microphone
QuickTime Player:
- From the Drop-Down Menu Next to the Record Button > Select Your Camera & Microphone
- File > Export as > 1080p, 30fps, .mp4
Windows Camera:
- Select Video Mode
- Settings > Videos > Video Quality > 1080p, 16:9, 30 fps
- Settings > Videos > Flicker Reduction > 60 Hz
iPhone/iPad Camera:
- Record in Landscape Pro Presenter Tips and Tricks
- Practice with your equipment. Become familiar with your setup. Do a test-run/ rehearsal to make sure everything is in working order.
- Most webcams utilize autofocus adjusts the focus by tracking movement in front of the camera. Be mindful of sudden and dramatic motion as it could affect the quality of the final product.
- Your microphone is actually closer than you may realize. To ensure proper audio levels, do a test record and adjust the volume of your recording if necessary.
- If possible, remain relaxed and speak from memory. Reading from a script appears less natural on screen.
- If you require notes, try to position them high up, preferably behind the camera.
- If you’re nervous, one strategy is to find a picture of a friendly face and position it behind the camera. Speak to the friendly face instead


